Showing posts with label Nail Art. Show all posts

September 27, 2015

Instructables.com

So, I found this fan.tast.ic. website, www.instructables.com.  It is literally DIY Heaven (I think that's actually their motto).  You can create a tutorial and post it to their website, you can view a tutorial for EVERYTHING on their website, you can enter contests on their website, you can vote for contests on their website.... Y'all probably see where this is going :)

I entered a tutorial into 2 contests - the First Time Authors Contest, and the Fall for Yarn Challenge.  I was wondering if y'all wouldn't mind heading over to their website at this link (like, click this text right here. It should be purple or blue or something.)  and voting for my project, which is a Crochet Bobble Beard.  It's really cool :)

If you do take the time to click the link to go vote (which doesn't take more than 3 min) follow these steps:

1.  When you click the link, it will go straight to the contests page.  However, you have to sign in to vote.  If you already have an account (it would be, like, really cool if you did) just go ahead and login at the top then A) click the "explore" button at the top of the page next to the search bar, B) click the "contests" button on the top left of the menu that will come down, C) scroll about halfway down the contests page, click on the "Fall for Yarn", scroll down to the entries, and click the "vote" button at the bottom of mine (which, once again, is this super cool Crochet Bobble Beard modeled by my lovely younger sister :D)  If you don't already have an account, you can...
2.  Sign in with Gmail, Facebook, or Twitter.  Do this by scrolling down to the entries on the contest page and clicking  the "vote" button.  A window will pop up with sign in options.  When you choose your sign in option, you'll sign in and it will take you to the main page of the website.  After that you can just follow A, B, and C of numero uno up there (number 1 :D)

When you figure that out, you're more than welcome to do the same for the First Time Authors Contest (there are quite a few more entries, almost 400 - mine is only a few rows down though bc it's more recent).  You can find it on the Contest page as well.

Well, that was an incredibly long blog post.  I have some super cool Nail Art and Crochet DIY's/Photo-Showcase-whatever thingys, plus the results of the 2015 TN Valley Fair (!!!).  Thank you all soooo much for reading all this and voting for my project!  I'm really excited! Stay tuned...

** Please feel free to share the link to this post with your friends, on social media, etc.  I'm trying to spread the word as much as possible! :)

December 25, 2014

Merry Christmas!!! + DIY - Christmas Themed Nail Art (of course! :D)

Merry Christmas Everyone!  I hope ya'll are all having a fabulous day... I know I am :)  But right now, I'm going to share my Christmas Themed Nail Art.  So here we go!

Supplies:
- Nail Polish - Red, Green, White, (basecoat/topcoat=optional)
- A toothpick

 
First, paint a red basecoat.  I used 3 coats to make sure it was really bright :)
 
 
Next, use a toothpick to put mistletoe leaves on the nails of your choice.  I did the top right corner of my accent nail and the bottom left corner of my index finger.  However, you can do one nail or all nails.  It's your choice.
 
 
Close up of the accent nail.  For my leaves, I dipped the toothpick in green polish then drew a line across the top of my nail for the "stem" in the corner.  Then I did two inverse arrow line for the pointed sections of the leaves.  Finally, I drew a one little point at the end.  Then I repeated those steps down the side of my nail, to create an "L" shape.
 
 
Same thing on the index finger, just in a different corner.
 
 
After the green leaves are dry, use a toothpick dipped in white polish to put a cluster of three "berries" in the center of your two leaves.  Also, this step is optional, but I put three white dots in a vertical line down the edge of my other nails (without the mistletoe design).  I just liked the way it looked :)
 
 
There ya go!  Merry Christmas!
 

December 18, 2014

"Well look at that; I've been NAILED!" ~Olaf

And Olaf has been nailed.  Get it?  In the movie he got "impaled", I "nailed" him.  :)  Here's proof...


My friend Emily came over a couple weeks ago and we did nails.  She asked me to put Olaf on her fingernails.  However, since we had a time shortage, I put Olaf on the thumbs and did a "Frozen theme" on the rest.  They actually turned out pretty good for my first time!  :)


Close up of Olaf.  It was so cute!

So yeah, that's basically my story of how Olaf got "nailed".  :)  Merry Christmas!  

November 20, 2014

30 Day Nail Art Challenge - Day 20

Today's theme - Water marble!  I really like how water marble looks, especially how each nail has a different design.  Today I have only used two colors, because I am going to a 4-H Awards Banquet tonight and need it to match :)  However, you can use as many colors as you want!  Before we get started here are some tips on picking polishes/colors for this tutorial.

  • Glitter polish, topcoat, basecoat, textured polishes, and matte finish polishes will NOT work.  For this tutorial, just stick to basic polishes.
  • Polishes that are thick or especially sticky will not work.
  • Don't use super light colors, as they will not show up.
Awesome!  Now let's get started!


First of course, you need to pick your colors.  I will be using tan and hot pink.  You will have to pick at least two colors and I suggest not going over ten.  :)  After you pick your colors, paint your nails with 2 coats of either white or the lightest color in your color selection.  As you can see above, I used tan.


Next, you will need to tape off every single finger so you don't make a huge mess all over your nails cause trust me, it is almost impossible to get this stuff off your hands!

Start by taking a large piece of tape and wrapping it around your finger like a large ring, putting the bottom edge just above your cuticle.


After that, take a long thin strip of tape and, starting on one side of your nail, put the edge of the tape up against your nail and go down towards the tip, then turn and go across the tip of your finger, then turn again and come up the other side.  A picture is above to show what it should look like.


Do this on all your nails, on both hands.  It should look like the ends of your finger are all bandaged up :)  After all, we are about to do some "nail doctoring".  :)


For the actual water marbling part, you will need a cup filled almost to the top with room temperature water.  It must NOT be super hot or super cold, if it is, the water marbling WILL NOT WORK.

Starting with your lighter polish, start putting drops of polish in the water, always dropping it in the center.  If you drop the polish in from to far up, it will just sink to the bottom.  The best way to do it (for me anyway)  is to shake a large drop down to the end of your brush, then gently touch it to the water and let it set on the surface.  You need to do this quickly so that the colors don't bunch up in the middle.


Keep adding drops of polish until they don't spread out any more when you drop them in.


When you have added all the drops you want, use a toothpick or pointy metal tool to swirl the polishes around together, making designs on the water.  The polish will have formed a "screen" of sorts on the surface, so you CAN'T push the toothpick into it.  Also, if you swirl from the outside of the circle, don't start on the very outside edge.  Start a couple rings in where the polish has not set as much.


After you have your design on the water, pick the part you want on your nail and place your finger OVER it, not in it yet.  Hold your fingernail at a 90 degree angle just over the water with the very tip over the BOTTOM of the part you want on your nail. 


Moving quickly, push your finger straight down into the water and hold it there for a second.  After 5-10 seconds, pull it out and, using a napkin or Q-tip, go around the outside edge of your nail soaking up the water.  DO NOT TOUCH THE POLISH ITSELF!


When you pull off the tape, the outer edges will most likely be a little messy but that is okay.  We will take care of that in a little bit.


Here I just put more drops in the water.  If you have a bigger section like this, after making your design you could dip 2 or 3 fingers in at once, depending how you want them.  If you have a really big cup and and a really really big section, you could even dip all your fingers at once!


Left hand.  I did this hand last and I think that I like the way it turned out better.  The thumbnail is my absolute favorite!


Right hand.  I don't know what happened to the thumbnail on this one!  :)


Here are close ups of all the nails individually.  As you can see, I put my left thumbnail, my favorite, in the large spot :)  I REALLY like the way it turned out!

There is the water marble!  I believe tomorrow we are starting the final section... inspired by!  See ya then!


November 19, 2014

30 Day Nail Art Challenge - Day 19


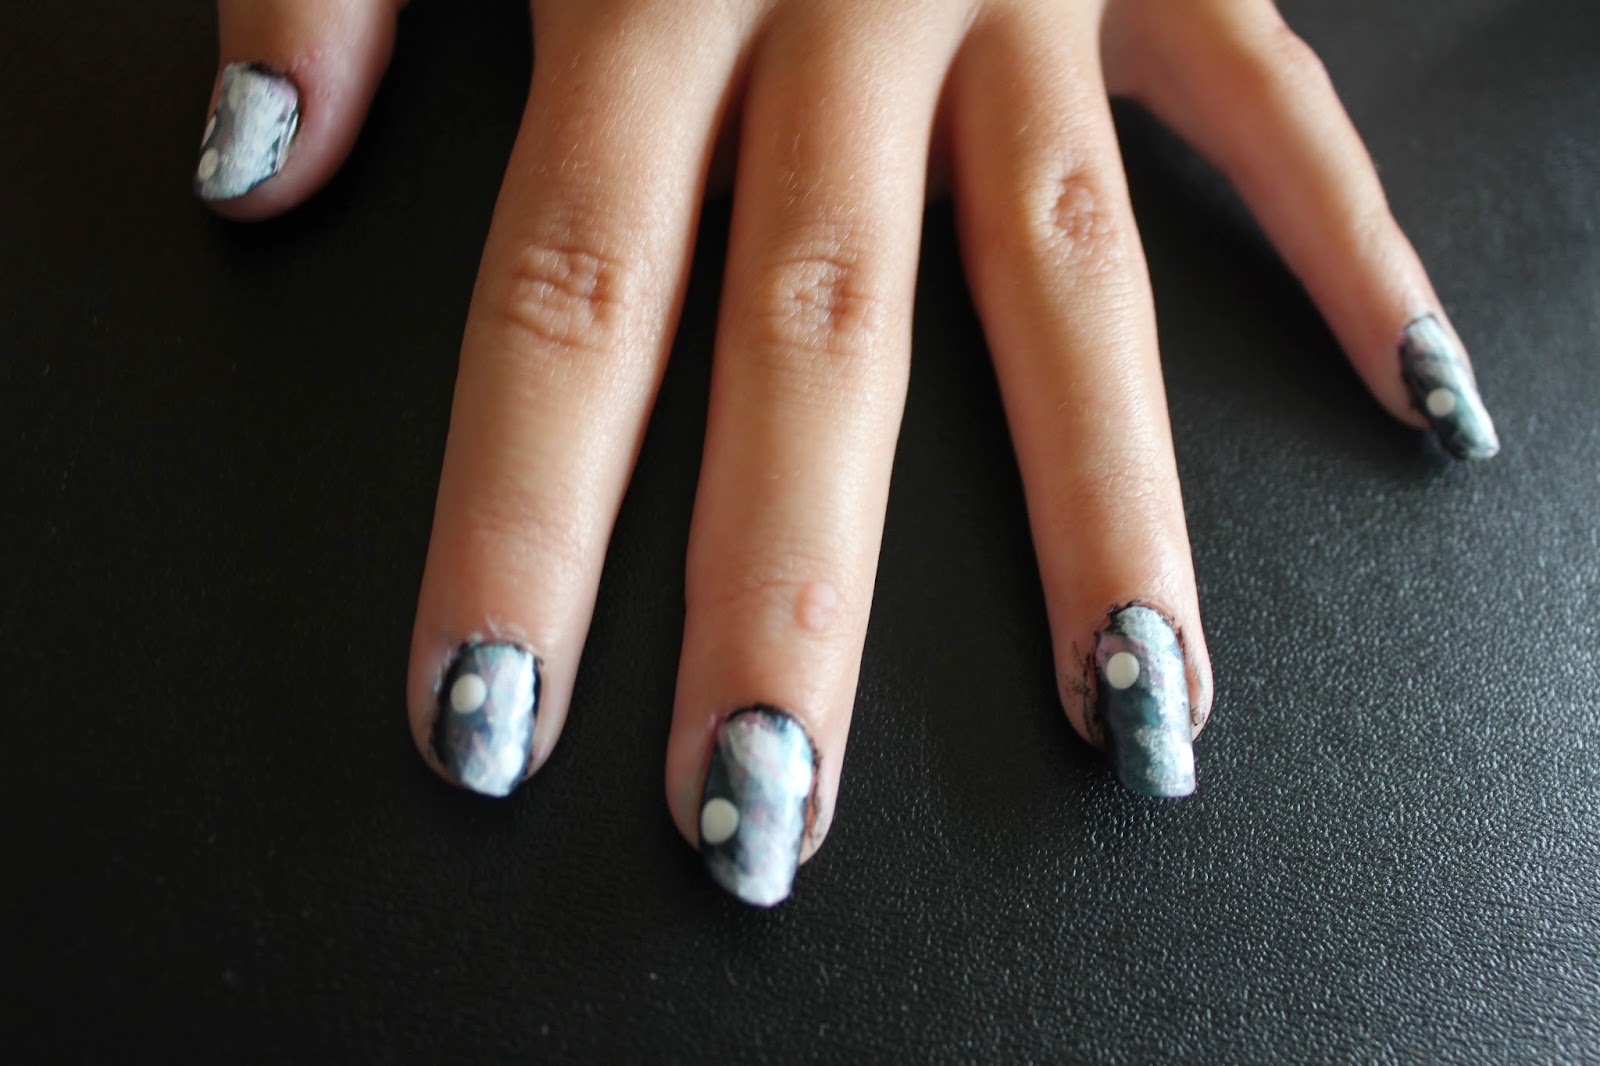
Today's theme - Galaxy!  I have always really liked this one, and enjoyed doing it again for the challenge!  I did not take step by step pictures for this one either, so I took the ones from the tutorial I had posted a while back and used them (just FYI, I didn't know if they may/may not seem familiar :D)


First, paint a base coat of black.  Obviously, you will probably not need more than one coat.  Unless you just want one.  :)


On these next steps, you want to move rather quickly, as we do through the gradient nail tutorials I have posted before (sunrise, glitter, etc.).  The goal is to blend these next colors together as much as possible, so we still want them to be a little wet.

Using a makeup sponge, (other kinds of sponges work as well) Dab a "line" of white polish down the center of each nail.  It doesn't have to be perfectly straight at all, remember:  this is a galaxy!


Now, use a different sponge to sponge a lighter shade of pink across the white, leave some black showing though so we will know what it is.


After putting pink on all your nails, go through with a different sponge and put some light blue/turquoise in there.  Have fun with it!


When you have put in all three colors, the white may not be showing up as well.  If this happens, you can go through with your white polish sponge and put some more in a few places for some white "highlights".  

After this, use a nail to put white dots in random places on each nail.  These are "stars".  You can do as many or as few as you like on each nail.


There ya go!


30 Day Nail Art Challenge - Day 18


Today's theme - Half moon.  I learned something new on this one.  When doing nail art, "half moon" doesn't mean you go and paint half moons all over your nails.  Apparently it means that you paint all but the little half moon shaped area towards your cuticle.  Interesting.  Anyway, I do not have step by step pictures for this either but I will just explain it in steps because it too is really easy.

1.  You don't have to do this step, but I first painted a base coat of tan.  I then added the green on top, leaving a tan half moon at the top.  It doesn't matter if you do this or not.
2.  Use tape to tape off the half moon area at the top.  Then use any color you like to paint the bottom portion of your nail.  Add several coats if necessary.

30 Day Nail Art Challenge - Day 17


Today's theme - Glitter!  Typically I do not use glitter polish on my nails because it is a pain to take off, but when I do use it, I enjoy coming up with cute designs!  Today I did a gradient purple and silver with purple glitter.  I did not take step by step pictures for this tutorial but I will explain it just with different "hand position" pictures.  :)


First, I painted a base coat of silver.  You really want to achieve full coverage because the purpose of it is to "fill in the gaps" when you sponge the rest of the design on top.


Next, I used a sponge to sponge more silver polish all over.  This just helps the colors blend better when you add the purple.  Moving quickly, use a different sponge to sponge purple polish over the bottom half of your nail.  If necessary, go back with more silver to sponge/blend the colors together in the middle.


When all this is dry, go over the top with purple glitter polish.


It's glitter-tastic!  (I made that up :D)


30 Day Nail Art Challenge - Day 16

Once again, I am so sorry.  I forgot to take pictures of today's theme, tribal print.  I will redo it as soon as I can and have the pictures up.  It has been a busy week and I just totally forgot about taking the picture.

Hannah

30 Day Nail Art Challenge - Day 15


Today's theme - Delicate print.  At first I meant for these to be Dragonflies but then I accidentally made the wings rounded without realizing it so they became butterflies.  :)  I had to hurry and did not get pictures taken for a tutorial but I will still post the steps because its really easy.  

1.  Paint a white base coat.
2. Using a toothpick, start putting little groups of four "wings", two on each side, anywhere on your nails, as shown in the photo above.  You can use any color you like.
3.  Add a black line down the center of the "wings", making it stick out a little longer on one end than the other.  This is the "body" of your butterfly.  

Sorry I did not get this up on the 15th!  I did not have access to a computer to get it up.  Today I am posting through day 19 and tomorrow I will have day 20 and continue from there.

November 15, 2014

30 Day Nail Art Challenge - Day 14

Hey everyone!  I am so sorry I did not get this posted yesterday.  I had them done but did not have enough time to post as it was a really busy day.  I will have today's up later.  For now, here is yesterdays!  Today's (well, yesterdays) theme was flowers.


Since I got some new nail polish yesterday, I decided to use it to create my flower pattern.  I ended up with a dark purple base with light purple and white flowers, along with little white dots in the negative space.  The tutorial is below!


First, paint a dark purple base.  I did two coats just to make sure that I had full coverage.


Next, use a nail (bobby pins or straight pins work as well) to dab little dots of light purple polish on in the shape of flowers.  They don't have to all be complete flowers, as you can see I have some that just show 2 or 3 "petals".  You can also put as many or as few as you like on a nail.


When the light purple is dry, go through with your nail and white polish and put dots of white in the centers of each flower.  On the half flowers, I just positioned the nail to where half of it was on the flower and the other half was on my skin and put the dot.  I then used a Q-tip dipped in nail polish remover to remove the polish from my skin.


Finally, I used the tip of my nail to put little white dots in the negative space around the flowers.


There you go!  A cute little flowers pattern made up entirely of dots!  Check back later today for todays theme - A delicate print. 

November 13, 2014

30 Day Nail Art Challenge - Day 13

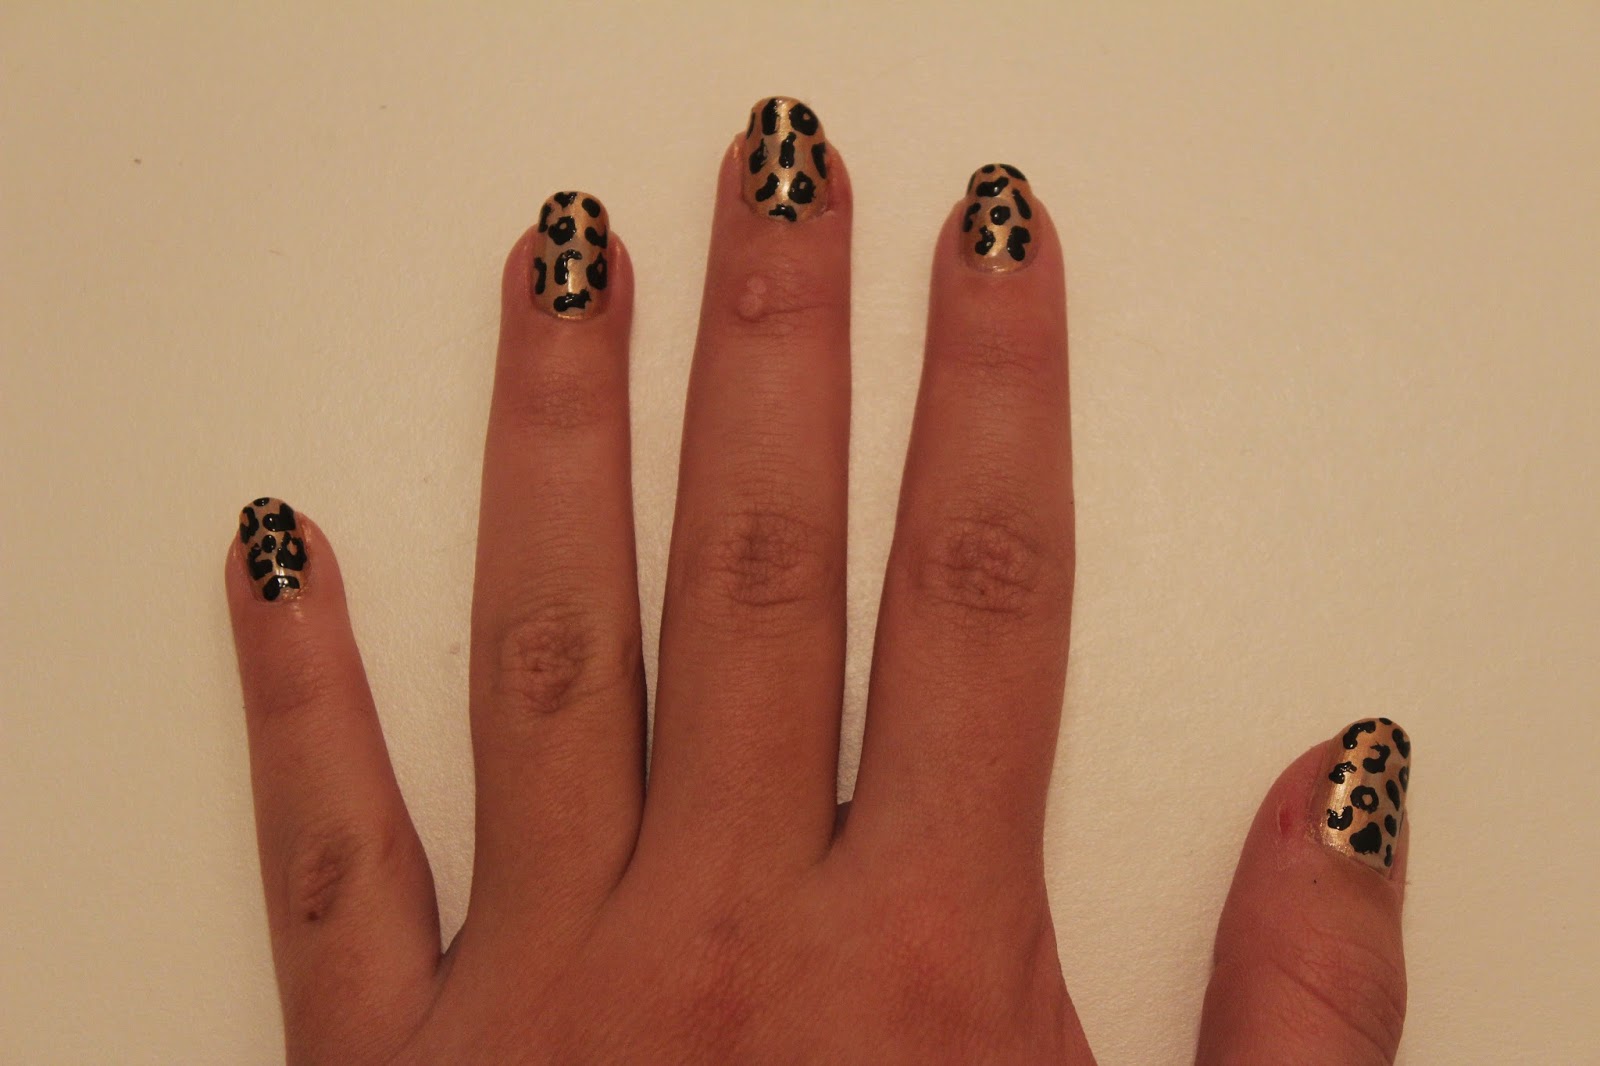
Day 13.  Animal Print.  I stared at the theme for today on the list for almost 10 minutes, trying to decide what animal print to do.  I mentally went through all the animal prints that I could paint, zebra, cheetah, giraffe, elephant (which is actually really easy and looks pretty cool), and other wild animals.  Oh, and snake.  But I couldn't decide.  Finally thought, I decided on...


Cheetah!  I really liked how this turned out!  It is actually really easy and took me about 10 minutes, including drying time.  The tutorial is below!


First, paint a gold base.  Mine covered really well so I only did 1 coat.


Next, paint a tan stripe/line down you nail somewhere.  I did mine more towards the center, but it really doesn't matter.  They don't have to be perfectly straight at all, you could even do a diagonal!  We are just adding this kind of as a highlight, you might say.


After the tan is dry, use the gold again to go back over the tan stripe in some places.  I don't know if you can see very well in this picture, but I just wiped most the paint off my brush then did a few diagonal swipes partly across the tan stripe, alternating sides and staggering them apart on the way down.  I fit about 2 on each nail.


After that, I just used a toothpick, the tip of a nail will work also, to freehand little black circles, lines, dots whatever all over my nail, to create the cheetah spots.  You can really do whatever you want on this step...


Do the previous step on all your nails, as shown above.


Ta-da!  Like I said before, I was really pleased with how this turned out!  Check back tomorrow for day 14 - flowers!

November 12, 2014

30 Day Nail Art Challenge - Day 12

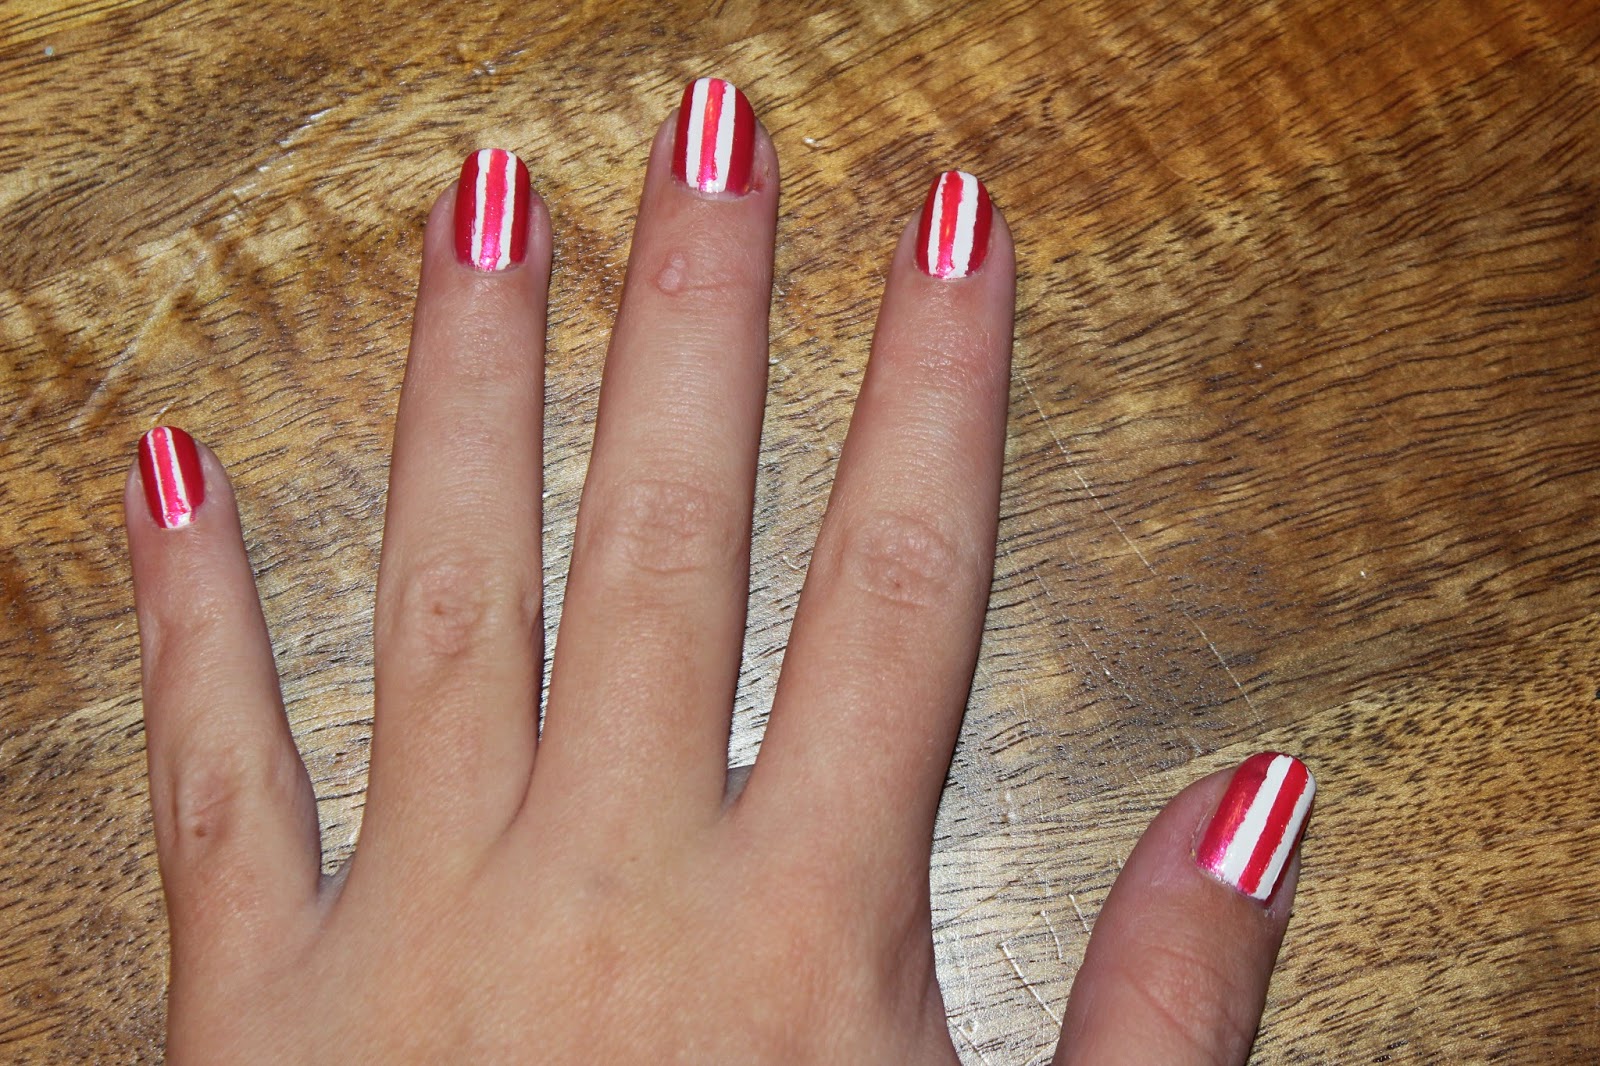
Ok so after I finished this one today, I realized that my rendition of yesterday's theme reminded me of snowmen and today's reminded me of candy canes.  That plus the fact that we started hanging Christmas lights on our house outside make me realized that Christmas is almost here!  I can't wait for all the Christmas crafts, baking, and NAIL ART!!! :)  Anyway, here is today's theme... stripes!


So since I got some new nail polish for my birthday, (!!!) I decided that I wanted to use my new pink polish for a design at some point.  Today I thought about the theme then decided to pair it with white to make a simple stripes pattern (that still requires a little work).  As you can see, it really could pass for a candy cane! :)


First, paint a base coat of pink polish.  I used Pure Ice Pretty in Pink but you can use any shade you want.  I put two coats on just to make sure it covered evenly, especially on the sides.


When the pink base is dry, use tape to tape off a large "gap" down the center of your nail.  It's easier to make the proportions work if you kind of just mentally divide your nail in half, then tape it off to where the "gap" in the middle is the same size as half would be.


Paint the "gap" white, creating a white stripe when you pull off the tape.


When the white stripe is COMPLETELY dry, use more tape to tape off a smaller "gap" down the middle of the white stripe.  Once again, the proportions are easier if you mentally divide the WHITE STRIPE in half then tape off the "gap" to be the size of one half.


Paint the "gap" pink, which will create a pink stripe down the center of the white stripe.  All the stripes should be just about the same size just in the different colors.


I hope ya'll enjoyed this tutorial!  You can really use any colors you want for this, even do each of the 5 stripes a different color.  I will have a tutorial for this out later.  Don't forget to check back tomorrow!